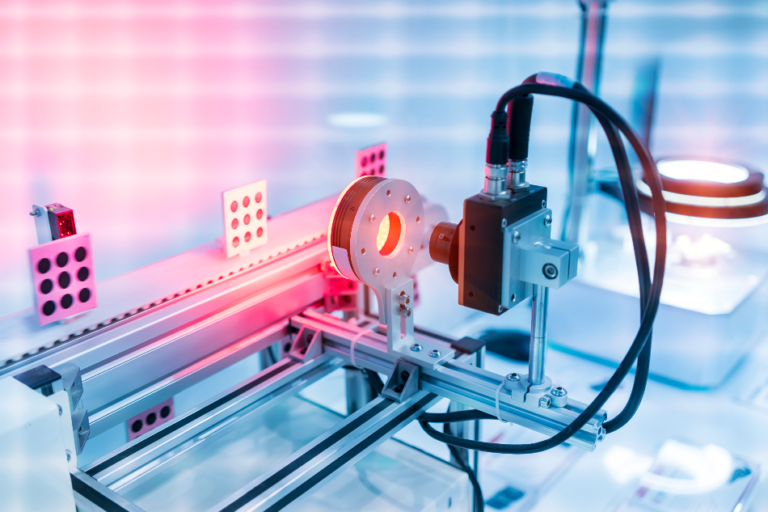
Machine vision systems are automated inspection tools that can make measurements or carry out other types of analysis in order to verify the quality criteria of manufactured products.
However, we are going to discuss the basic principle of a machine vision system inspection in this article.
The basic principles of a machine vision system
A machine vision system runs pre-configured software algorithms that enable it to detect specific visual features on the surface, in the interior, or near the edges of objects passing along a conveyor belt. A specific element of the software, called an “algorithm”, acts as a set of instructions to direct the machine vision system’s hardware components to collect data about the products passing by. The data collected describes unique, measurable characteristics of the object being inspected, which are compared to a set of criteria called “quality parameters” programmed into the machine vision system’s software.
Quality Parameters
The quality parameters define acceptable tolerances for dimensions, colors or other visual features inherent to objects being manufactured or inspected. Threshold values for each parameter are programmed into the machine vision system’s software, which analyzes information collected via specific hardware components, functioning to detect whether or not an object meets the pre-defined criteria.
Information is only sent on for further processing by software algorithms if a feature or set of features meet these parameters’ thresholds. The machine vision system’s software recognizes this information as being acceptable, or “good”, and it is therefore not necessary to pass the information on for further inspection. Conversely, any feature that does not meet these parameters’ thresholds are considered unacceptable, or “bad”, therefore causing the machine vision system to signal an error.
Machine Vision System Hardware Components
There are three main hardware components comprising a machine vision system: a digital camera, a lighting unit and a personal computer equipped with specific software.
Digital Camera
The digital camera is the tool that captures the images of objects within the machine vision system’s field of view. Digital cameras can come in many different forms, but they are all designed to provide information about the brightness and color of objects within a specific field of view.
Lighting Unit
The lighting unit provides uniform, sufficient lighting to illuminate the scene being observed from the digital camera. Lighting units can come in many different forms as well, but they are all designed to uniformly provide a specific range of wavelengths across a broad spectral bandwidth so that there is no hot/cold spots in the information collected from the field of view.
Personal Computer
A personal computer equipped with specific machine vision software is used to interpret the data being captured by the digital camera and lighting unit, which it then uses to compare against quality parameters programmed into its software algorithms. This information can be sent on for further inspection, or since it meets the quality parameters it can be counted, sorted or identified.
Machine Vision System Limitations
The machine vision system’s accuracy is measured by both false accept rate (FAR) and false reject rate (FRR). The FAR refers to situations where a part is incorrectly identified as being out of specification, while the FRR refers to parts being incorrectly identified as being in the specification.
According to the American Society for Testing and Materials (ASTM), the definition of quality is, “The degree to which a set of inherent characteristics fulfills requirements.” In other words, quality means meeting the predetermined criteria. The machine vision system cannot check if it meets these criteria; this must be done by software algorithms that are programmed into the system.
Accuracy in detection is based on a percentage value called sensitivity that measures false accept rate compared to the total number of inspections passed. This means that an inspection system with 0% sensitivity would have 100% accuracy because it never makes any false assumptions. The opposite end of this spectrum is the inspection system with the highest false accepts or false alarm rate.
Machine Vision System Applications
The machine vision inspection system can be used for many different types of applications where it is necessary to inspect parts, image information or measure physical dimensions. One way this is achieved is by breaking down these applications into three main categories:
- Object recognition;
- Image processing;
- Dimensional metrology.
Conclusion
In conclusion, there are three main components comprising a machine vision system: a digital camera, a lighting unit, and a personal computer equipped with specific software. The information collected from the digital camera is compared against predetermined quality parameters programmed into the system’s software algorithms, which can result in this information being counted, sorted, or identified.